Ok so in this post (part 2) I promised to show you how to use Visual Studio Team Services (VSTS) to build, test and deploy your code to Azure.
- Using Visual Studio 2017 with the git integration tools - Part 1 https://gregorsuttie.com/2018/08/24/vsts-and-git-integration-for-deploying-to-azure-part-1
- Deploying to Azure using VSTS with a CI / CD pipeline - Part 3 https://gregorsuttie.com/2018/08/24/vsts-and-git-integration-for-deploying-to-azure-part-3/
Step 1 - Build your code using VSTS
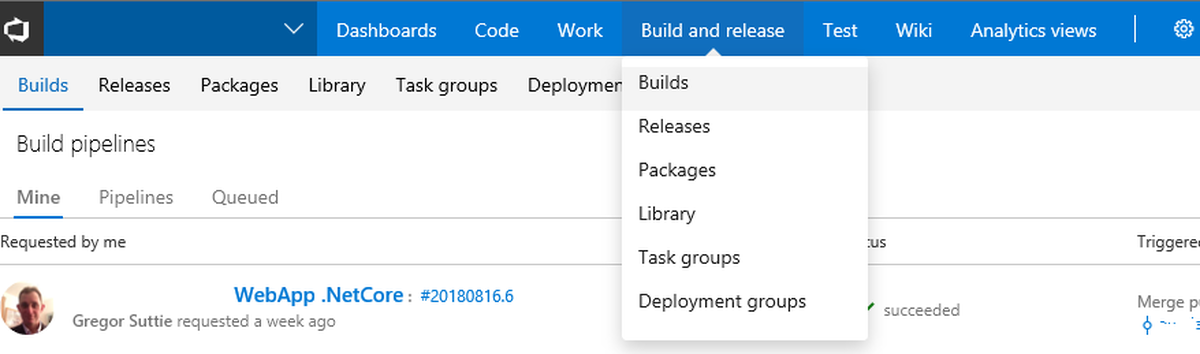
Select Build and Release from inside VSTS like so
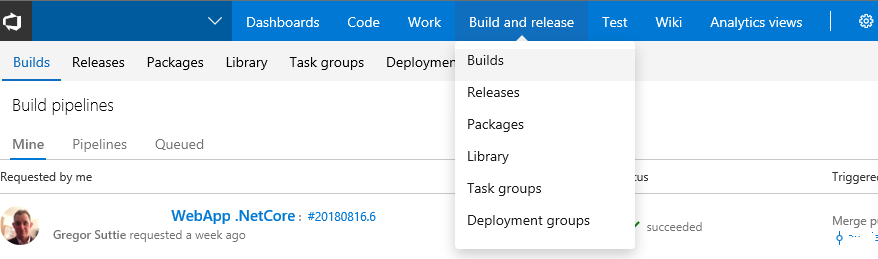
On the right hand side click where it says + New and you’ll see the next screen

I have rubbed out the names of the project I the above screen shot in case you’re wondering why it looks weird.
So here I’m saying that I want to use VSTS Git for where my source code belongs, I choose the Team Project, the Repository and which branch I am interested in building, then I select continue.
Now I need to select a template for the type of project I want to build like so.
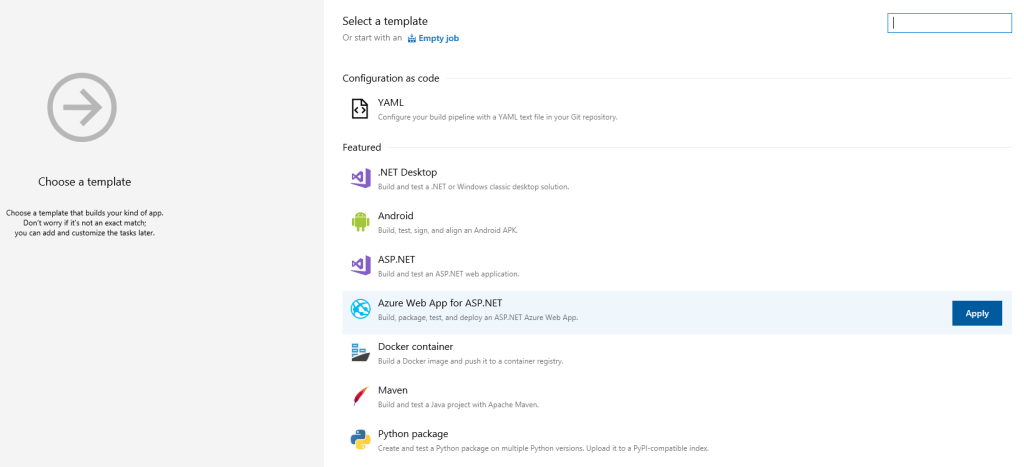
I have chosen the Azure Web App for ASP.Net and then I click Apply.
On the next screen I need to choose
- Name for the new Build
- Which type of pool will I use to build the code
- Locate the solution file for my project (from a selection)
- I have chosen my Azure Subscription
- And I have chosen the App service name from a drop down which comes from my Azure subscription.
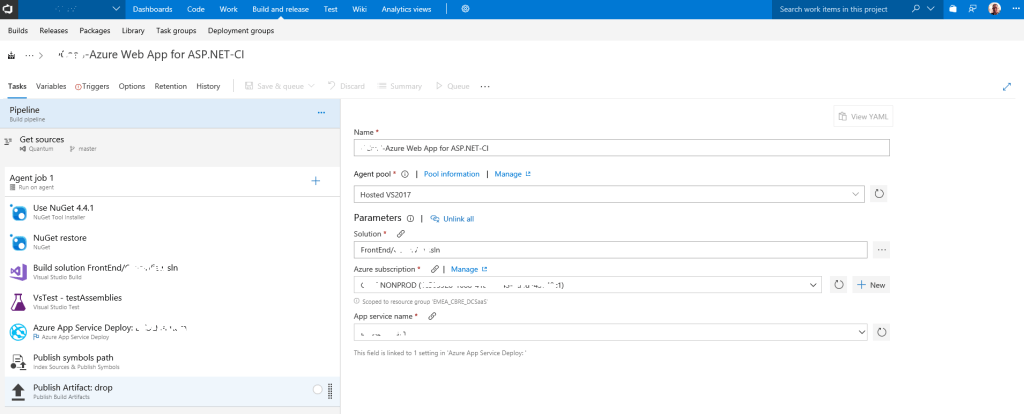
Above you can see the list of steps which will be preformed
- Use Nuget
- Restore my Nuget Package(s)
- Build the solution
- Run any Tests within the solution
- Attempt to Deploy the App Service (this step I would normally always remove)
- Then VSTS publishes the artifacts to a Drop folder within VSTS which is later used in the Release part of VSTS to deploy the artifacts to Azure in tis case.
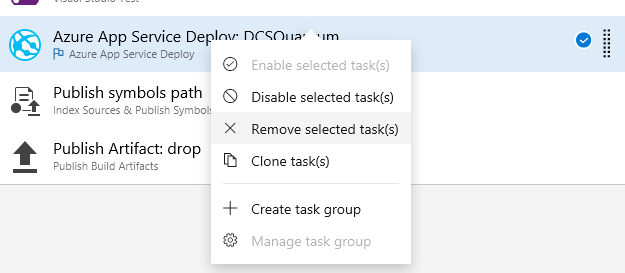
I will right click on step 5 and remove the App Service Deploy step as I just want to build my solution and create the deployment artifacts.
Ok so now you need to pay attention to this area of the build screen.

The red exclamation mark is showing us we need to fill out some further details before we can proceed, so lets fix this next.
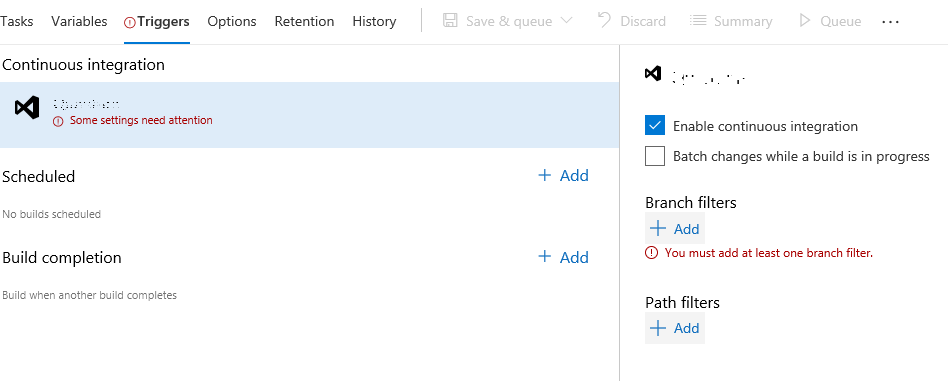
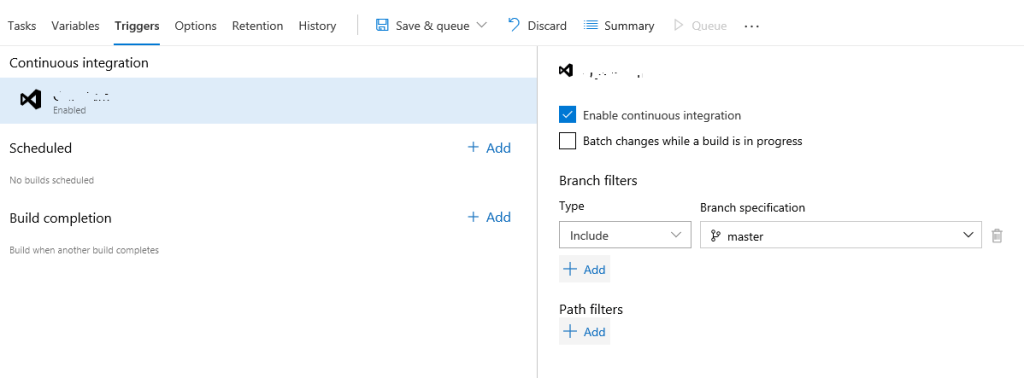
So here we need to add a Branch Filter before it will allow us to Save the new Build.
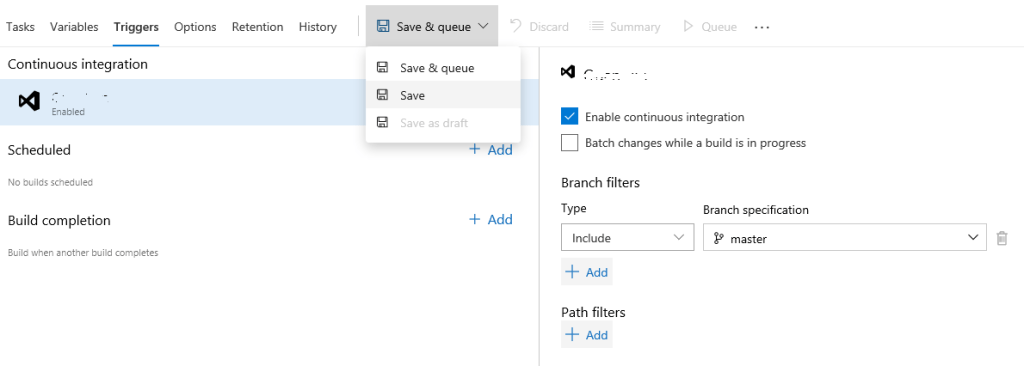
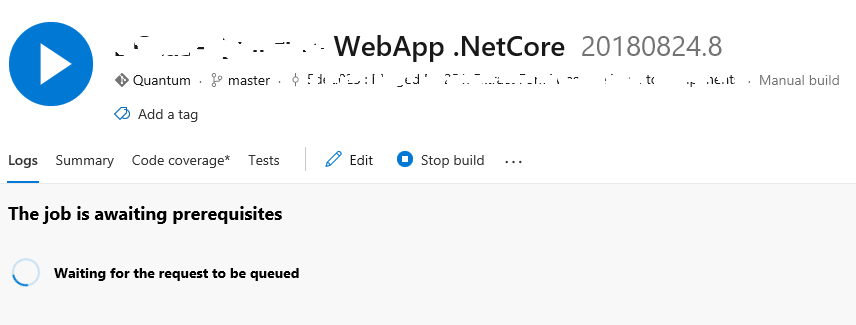
And now we can either choose Save or Save and queue our new Build, I’ll select Save and queue.
And you’ll now see your Build queued.
One your build is there you more than likely want to setup continous integration, tick this checkbox inside Trigger.
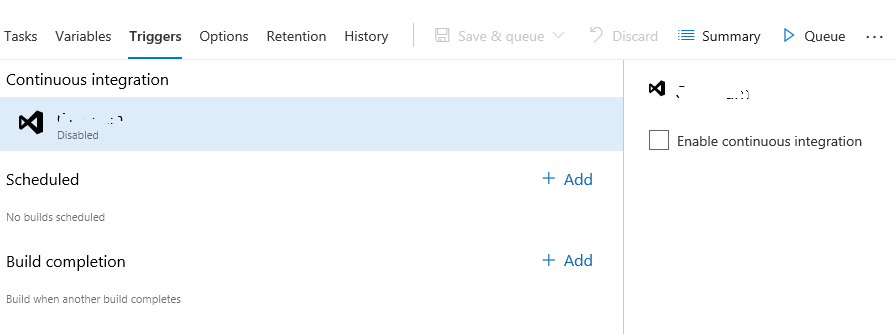
In the screen above you click Enable Continous Integration and you can fill the screen below out
Join me in Part 3 - And I’ll walk-through deploying the code by creating a Release in VSTS for our new build artifacts.