Deploy your MVC 3 application to the cloud and have it hosted for free, you can even get 20MB SQL Server for free should your app use a SQL database backend.
If your unfamiliar with Appharbor let me introduce you.

“AppHarbor is a fully hosted .NET Platform as a Service. Appharbor can deploy and scale any standard .NET application.”
Deploy and host host your application for free using GitHub to publish the content to Appharbor - couldnt be easier and ultra fast, and did I mention its free?

Basically build your application locally - put it up onto Github, setup the Github service hook ( cut and paste 2 lines) and job done - AppHarbor will build your code and deploy it and host it in the cloud for you!
The following are the steps to deploying a blank MVC 3 project to Appharbor using Git and Github, if your unfamiliar with Git and Github then its worth spending some time reading up on both, Git is very straight forward to get going and GitHub is the site to host your git content.
I will assume you have git installed and setup a local repository on your machine - let’s get started.
- Open Up Visual Studio 2010 and create an empty MVC 3 Application, I chose an Internet Application and didn’t select to add a Unit Test Project.
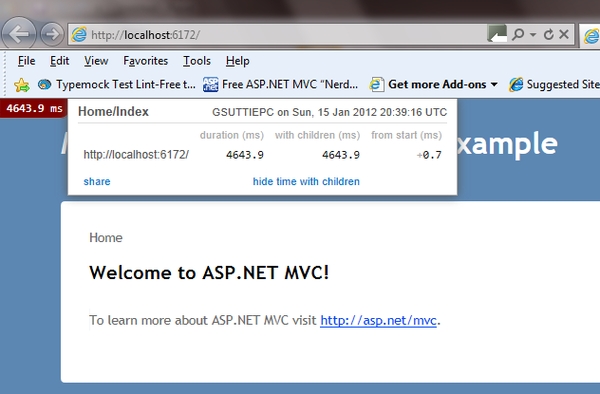
- I changed the text on the main page that will do for now. Then I copied the contents of the solution and the folder to my Github local repository folder.
- Go to Github and create yourself an account - this is free and allows you to put up your code - very useful for open source projects or you can use it to publish to Appharbor like we are about to do.
- Create a new Repository on GitHub as below and GitHub will show you the steps to adding the code to your repository on GitHub, similar to the screen shot below.

Go ahead and follow these steps to add your content onto GitHub.
- Now we want to add a .gitignore file into the git repository so that when we deploy to AppHarbor it builds without any issues. Create a .gitignore file and add this into your repository - the contents of my .gitignore file was as follows:-
[Bb]in [Oo]bj *.suo *.user
- At this point our source code is up on GitHub and now we want to deploy it from GitHub to AppHarbor - this step is very easy indeed and makes everything worthwhile and definitely worth any effort in having to learn git and setup accounts on both GitHub and AppHarbor.
- Log onto your AppHarbor Account and then create a new application as below:-

- Now click on the Build URL link on the blue part of the screen shot below:-

This copies the url you need to paste into GitHub in order for it to deploy your code to AppHarbor, firstly paste this link from your clipboard into notepad.
- Here is the url for a potential app:-

- Ok now go back to GitHub and go to the admin link once you are on the page displaying your GitHub repository.

- Click on Service Hooks on the left hand side and then select AppHarbor - this is where you need to be careful to paste in the Slug from the notepad link we have and then paste in the authorization code into the correct part within GitHub as below:-

Conclusion AppHarbor is really cool and very handy indeed, after deploying your first app you can deploy straight from GitHub just by pushing up file changes. Its superb, also comes with a host of add-ons, please go check it out now.